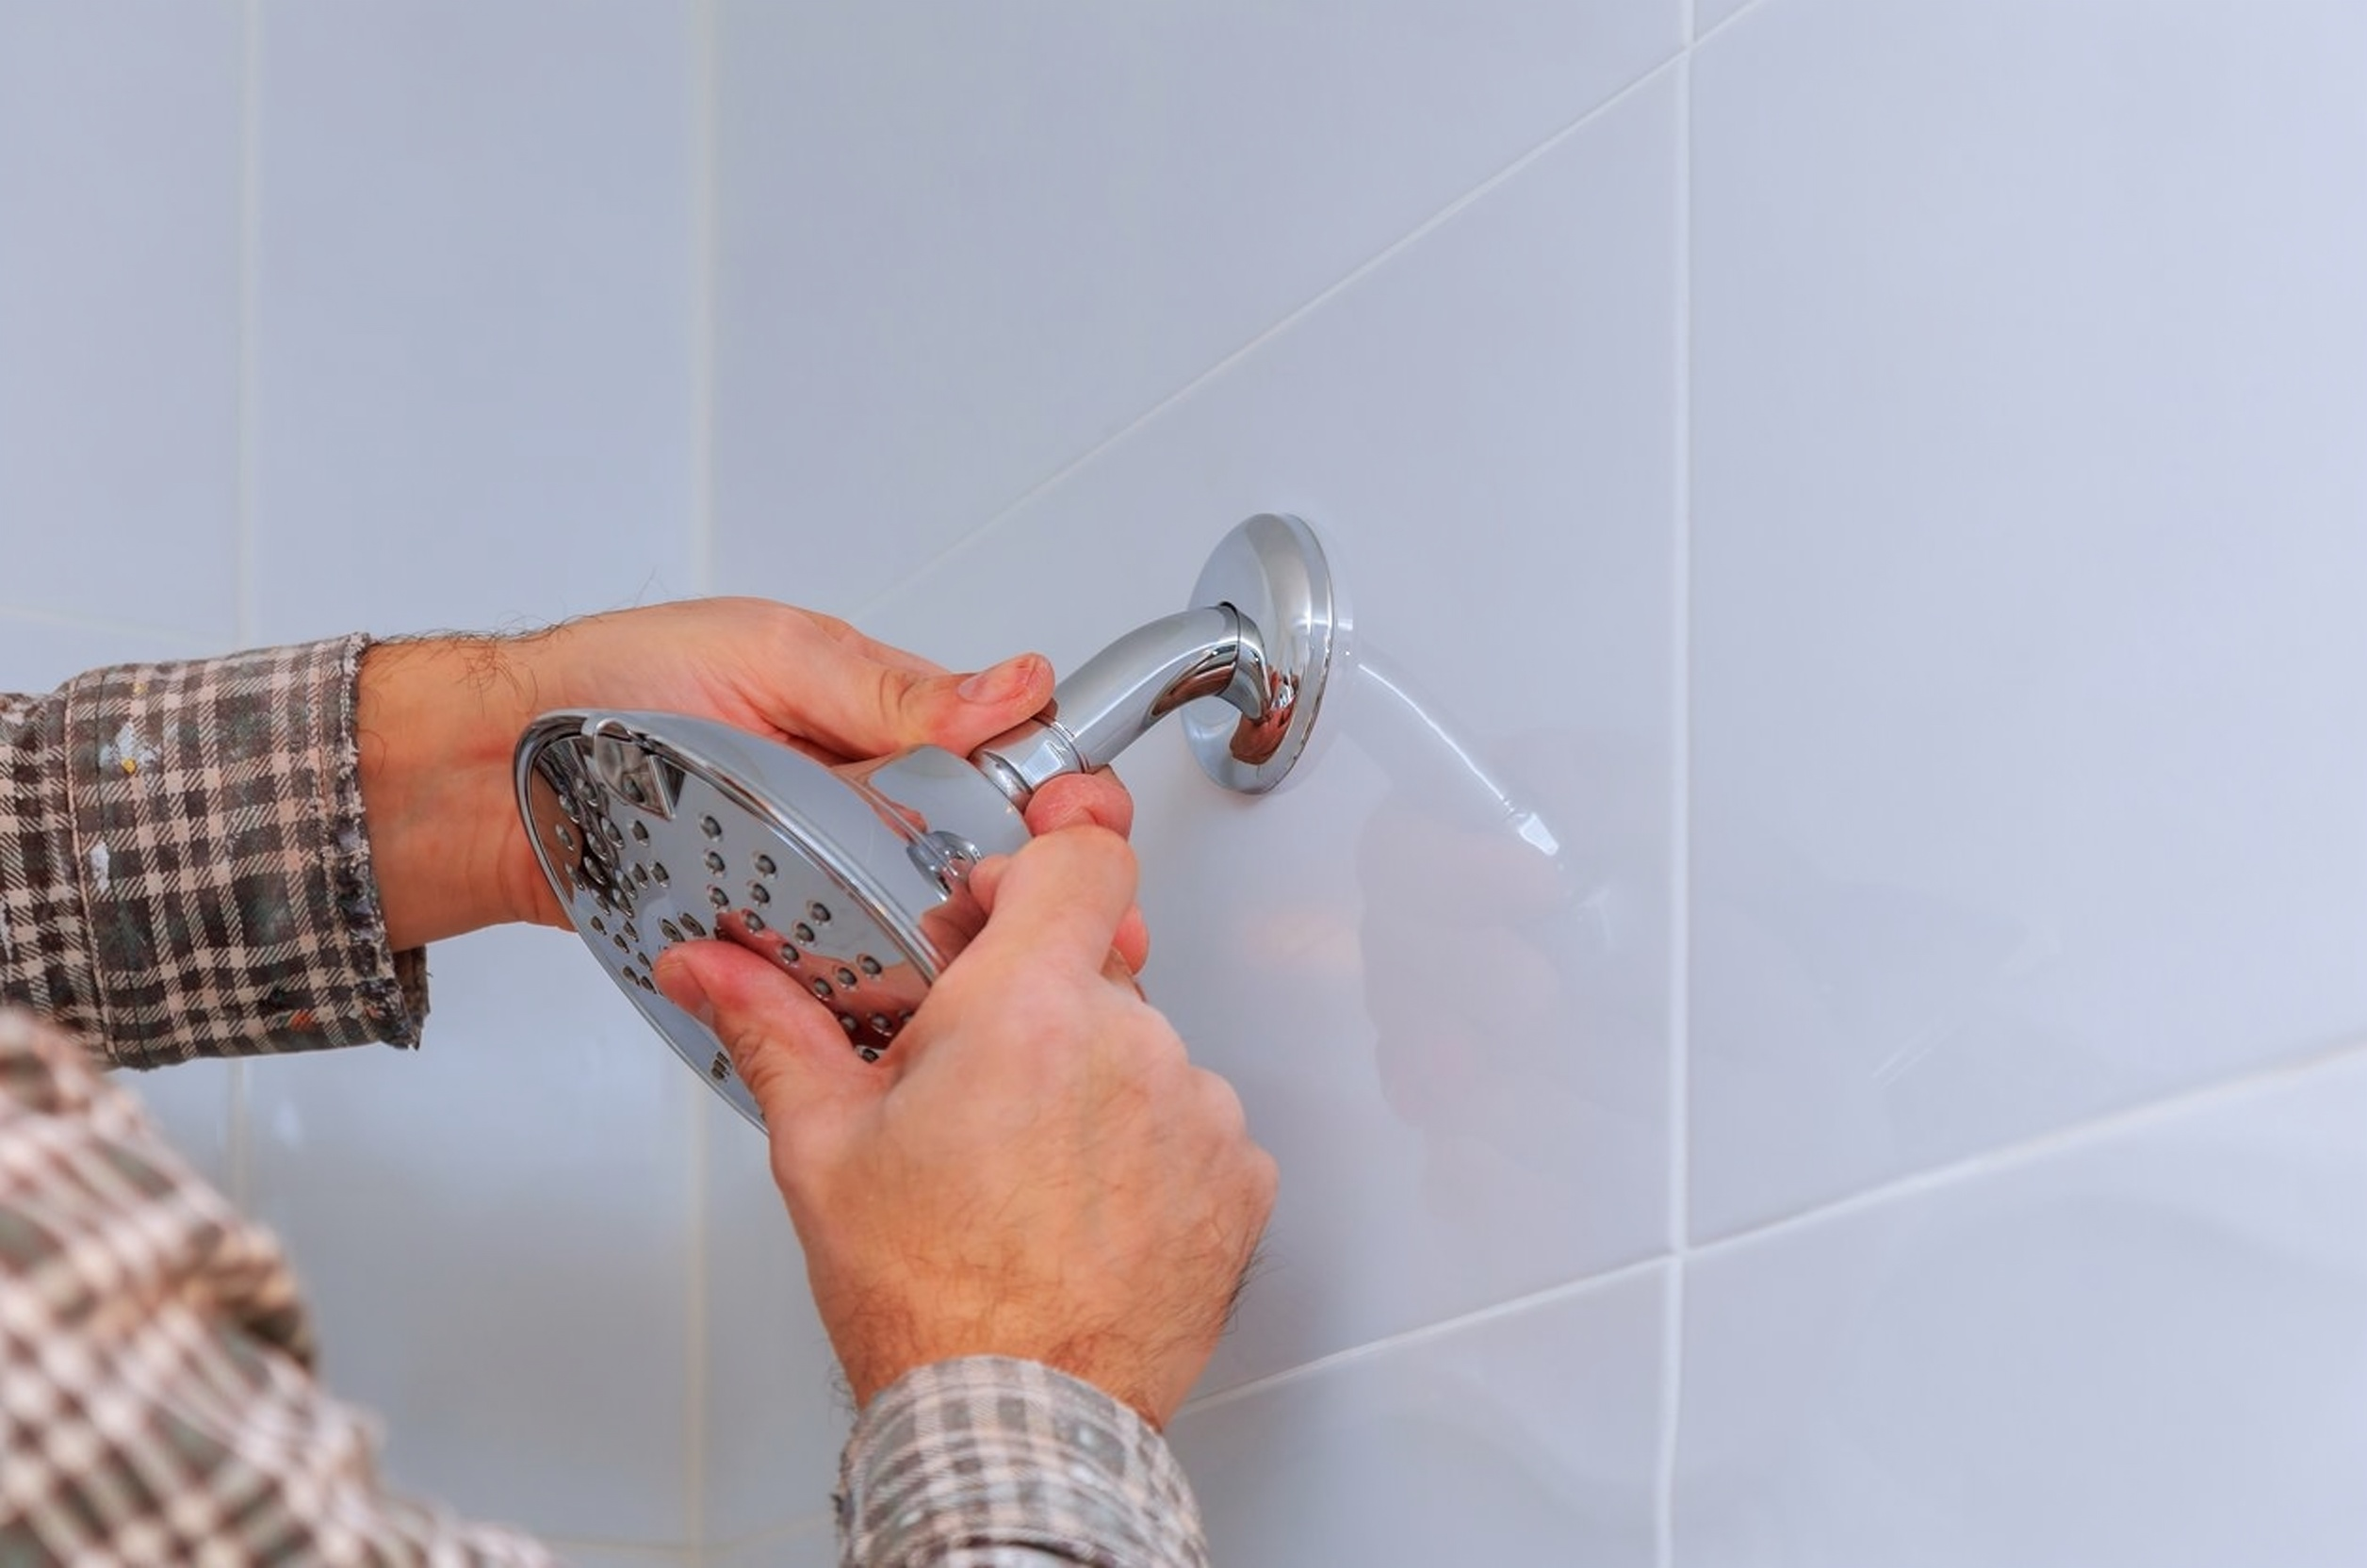
How to Fix a Leaking Shower Head in 30 Minutes
A leaky shower head is one of the most common home plumbing problems in the USA. The good news is that you can fix it yourself in about 15 to 30 minutes, and it usually costs less than $10.
In this guide, you will learn why a shower head leaks, what tools you need, and how to fix a leaking shower head step by step. You will also learn when it is time to call a plumber.
Why Is My Shower Head Leaking?
Before you fix anything, find out where the water is coming from. Most leaks come from one of these four causes:
- Worn-out washer or rubber seal. This small rubber ring sits inside the shower head. Over time it gets hard, cracked, or flat.
- Loose connection. If the shower head is not tight on the shower arm, water leaks out at the joint.
- Missing or old plumber’s tape. This thin white tape seals the threads on the pipe. When it wears out, water seeps through.
- Mineral buildup. Hard water leaves calcium and lime behind. This blocks the small holes and can push water out the wrong way.
If the water leaks from the shower head itself, the problem is usually the washer, the tape, or buildup. If the water drips from the wall or the valve handle, the problem is deeper. We cover that later in this guide.
Why You Should Fix a Leaking Shower Head Fast
A small drip may not seem like a big deal, but it adds up. The U.S. EPA says a shower head leaking at just 10 drips per minute wastes more than 500 gallons of water a year. That means a higher water bill and extra wear on your home.
A constant drip can also cause:
- Stains and mold in your shower
- Damage to caulk and grout
- Low water pressure over time
Tools and Supplies You Need
You do not need anything fancy. Most items are cheap and easy to find at Home Depot, Lowe’s, or any hardware store.
- Adjustable wrench or pliers
- Soft cloth or old towel
- Plumber’s tape (also called Teflon tape)
- New rubber washer or O-ring (if needed)
- White vinegar and a plastic bag
- Old toothbrush
- Small screwdriver or pin
Tip: Put a towel on the shower floor. This protects the tub from scratches and stops small parts from going down the drain.
How to Fix a Leaking Shower Head: Step by Step
Step 1: Turn Off the Water
Most shower heads do not need a full shutoff, but it is a smart habit. Turn the shower off and let the pipe dry. If you plan to work on the valve later, turn off the main water supply to your home.
Step 2: Remove the Shower Head
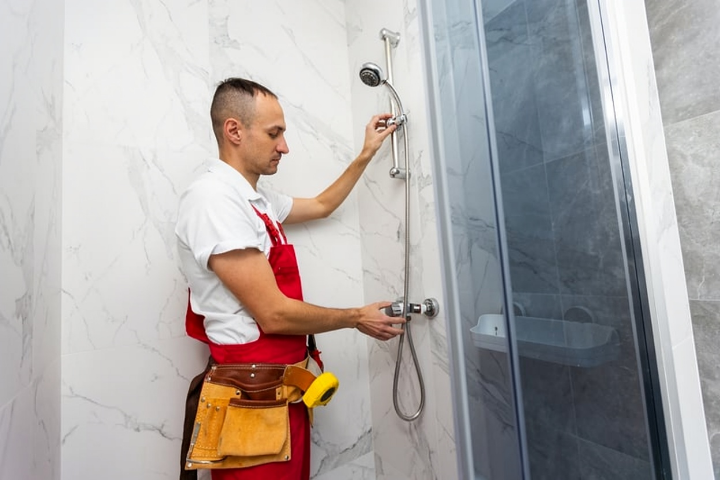
Turn the shower head counterclockwise (to the left) by hand. If it is stuck, wrap a cloth around the connector and use a wrench. The cloth keeps the finish from getting scratched.
Step 3: Check the Washer and Threads
Look inside the shower head where it connects to the arm. You should see a small rubber washer or O-ring. Check if it is:
- Cracked
- Flat or squashed
- Hard or brittle
- Missing
If it looks worn, pull it out gently with a small screwdriver and take it to the hardware store to find a match. A new one costs about a dollar or two.
Step 4: Clean Out Mineral Buildup
Hard water is a big reason for a leaky shower head. Here is an easy way to clean it:
- Fill a plastic bag with white vinegar.
- Place the bag over the shower head and secure it with a rubber band.
- Let it soak for 4 to 8 hours (overnight is fine).
- Remove the bag and scrub the nozzles with an old toothbrush.
- Rinse with clean water.
For brass or nickel finishes, soak for only 30 minutes, since vinegar can harm some finishes.
Step 5: Wrap the Shower Arm with Plumber’s Tape
This step fixes most leaks at the connection.
- Wipe the old tape and dirt off the threads of the shower arm.
- Wrap new plumber’s tape around the threads 3 to 4 times.
- Wrap it clockwise, in the same direction you will screw on the shower head. This keeps the tape from bunching up.
- Press the tape into the grooves with your finger.
Step 6: Put the Shower Head Back On
Screw the shower head on clockwise by hand. Then use the wrench for a quarter turn to snug it up. Do not overtighten. Too much force can crack the plastic or damage the washer, and that creates a new leak.
Step 7: Test It
Turn the water on and check the connection. Run the shower for a minute and look for drips. If it stays dry, you are done.
What If the Shower Head Still Leaks?
If you did all the steps above and the leak is still there, check these common problems.
The shower head is old. Cheap or very old shower heads can crack inside. A new one costs $15 to $50 and may be the easiest fix.
Water drips after you turn the shower off. This is normal for a short time, because leftover water drains out. But if it drips for hours, your shower valve or cartridge may be worn.
Water leaks behind the wall. If you see wet spots, stained drywall, or hear dripping inside the wall, stop. This is not a shower head problem.
When to Call a Plumber
Some jobs are best left to a licensed pro. Call a plumber if:
- The leak keeps going after a new washer and fresh tape
- The valve handle drips or will not turn off the water fully
- You see water stains on the ceiling below the bathroom
- The shower arm inside the wall is loose or damaged
- You are not comfortable working with pipes
A plumber can replace the cartridge or valve quickly. It is better to pay for a small repair now than a large mold or water damage repair later.
How to Prevent a Leaking Shower Head
A little care goes a long way:
- Clean your shower head with vinegar every 2 to 3 months, or more often if you have hard water.
- Replace the washer once a year.
- Do not overtighten the shower head.
- Replace the shower head every 5 to 8 years.
- Use a water softener if your home has very hard water.
Frequently Asked Questions
How much does it cost to fix a leaking shower head?
A DIY fix usually costs $2 to $10 for tape and a washer. A plumber may charge $100 to $250 depending on the problem and your area.
Can I use plumber’s tape on any shower head?
Yes, it works on most standard threaded connections. Only the arm threads need tape, not the inside of the shower head.
Why does my shower head leak only when the water is on?
This usually means a loose connection, a worn washer, or missing tape at the joint.
Why does my shower head drip when it is off?
Some dripping is normal at first. Constant dripping often points to a worn cartridge or valve.
Final Thoughts
Now you know how to fix a leaking shower head with simple tools and a little time. Find the source of the leak, replace the washer, clean the buildup, and use fresh plumber’s tape. Most people stop the drip in one short visit to the shower.
If the leak comes back or you see signs of water damage, call a licensed plumber. Acting early protects your home and saves water.